


What is Monokle?
"Monokle is an open-source tool created by Kubeshop that makes it extremely simple to oversee and examine your Kubernetes Manifests, showing you how your shows and various articles are associated with one another.". It is MIT authorized. It's an instrument to investigate our Kubernetes shows. These days when we work with K8s, overseeing extremely lengthy YAML documents turns into a difficult situation as we get various issues. Monokle assists us with investigating, oversee and approve the progressions prior to conveying them into the group. It likewise assists us with making our own manifest layout. A portion of the highlights of Monokle are:
- Immediately get an undeniable level perspective on your shows and their contained assets
- Effectively alter assets without learning or look into YAML language structure
- Envision and explore assets in your groups
- Make a Resource from a Template
- Deal with different activities
You can go through the features of Monokle in more detail. ( kubeshop.github.io/monokle/features )
Installation of Monokle is quite easy. Go through the following document to install. (kubeshop.github.io/monokle/getting-started)
Using Template
Let’s see how can we use the templates to generate the k8s manifests file for our daily work.
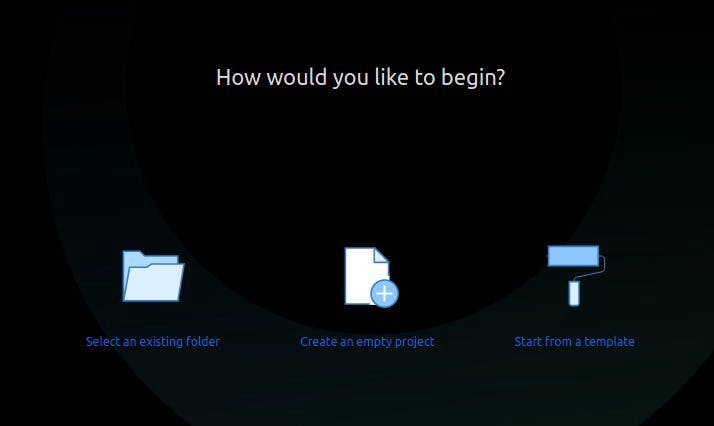
- Click on the “Start from a template” option.
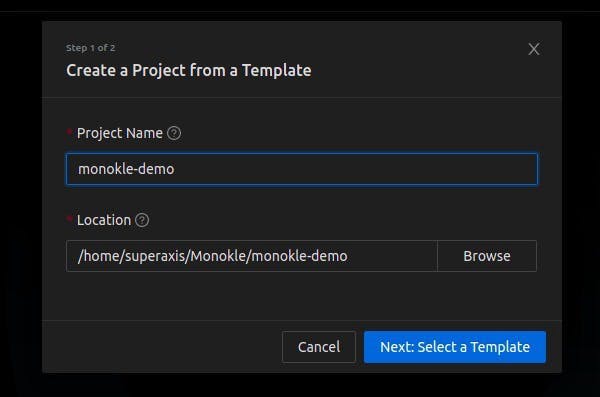
- Give the name of the project and click on “Select a template” option. Here I have given monokle-demo in my case.
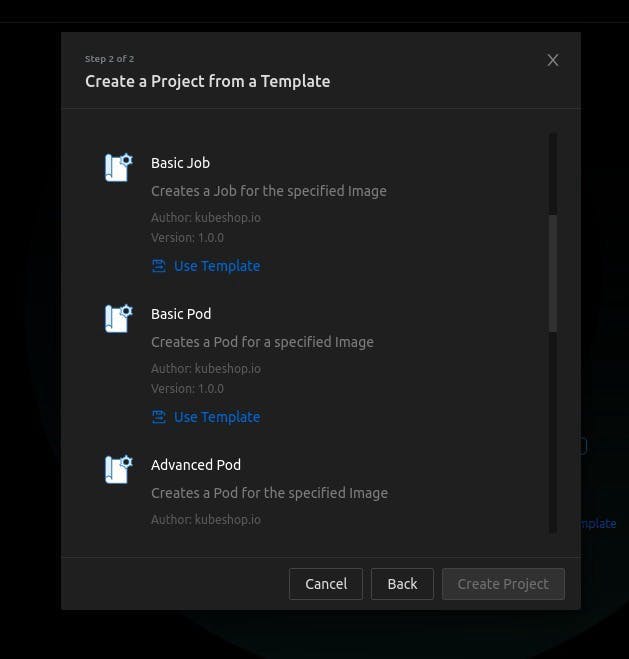
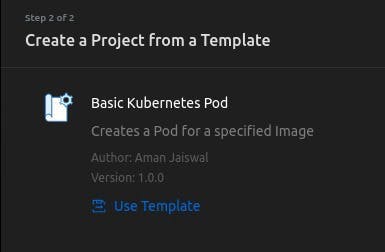
- Now choose the template which you want to generate. Here in our case, we will choose a basic pod template. Click on “Use template” option.
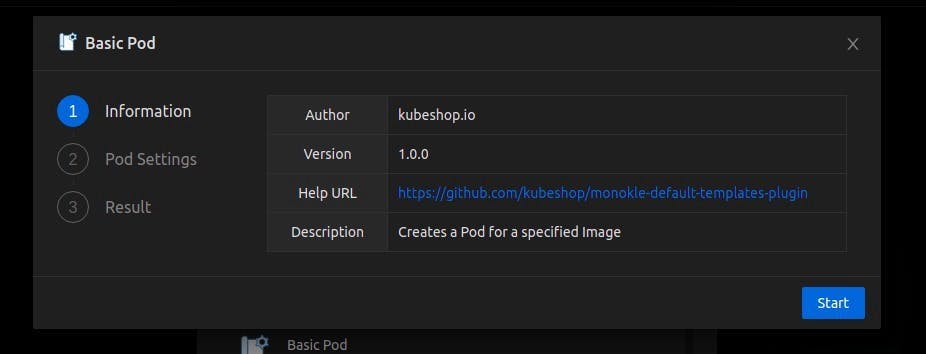
- These are the details for the template like The Author and the version of the plugin. Click on the Start option.
- Now the UI will ask for pod details like the name of the pod, namespace, and the image which we want to use for the pod. Here in my case, I have given the pod name as demo-pod, namespace as none as I don’t want to use any namespace, and Nginx as image. You can use any image for your pod. Click on Submit option post that.
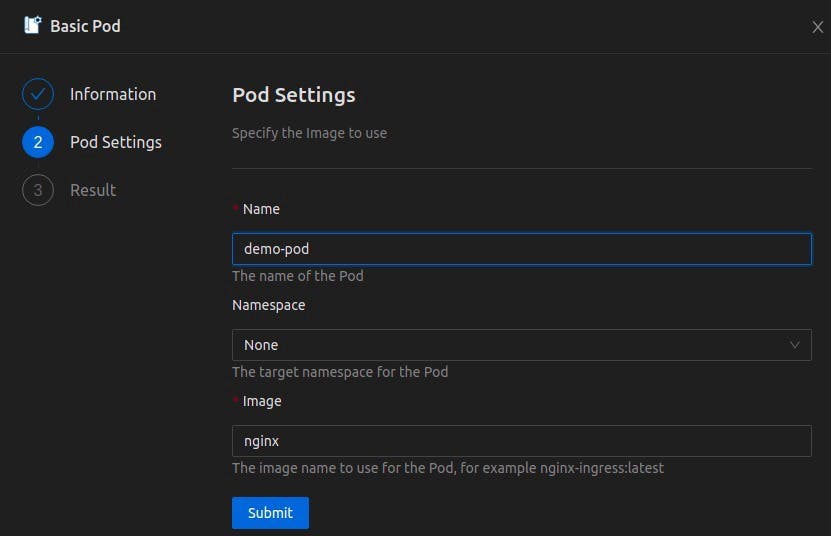
Note that if you won’t give the details, Monokle will use the default one.
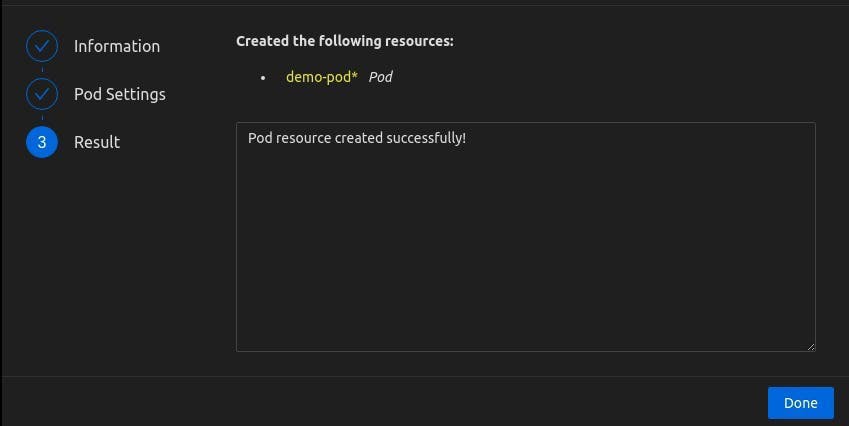
- UI will show the success message like this. Click on Done.
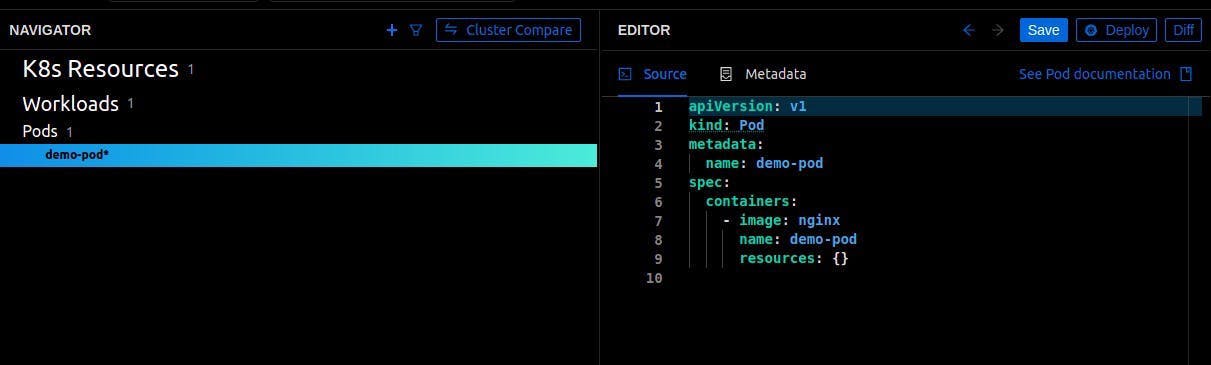
- Yay, the template for the pod is generated. Now you can deploy this to the cluster by using the deploy option. We can also make the changes using the metadata option.
Creating Template
Now let’s see how can we create our own template plugin. Let’s create a GitHub repo for the same. I have created a repo named “monokle-template-pod-demo” in my GitHub and cloned it to my local machine. ( github.com/aj85430/monokle-template-pod-demo )
Create a package.json file for our template.
    "name": "Templates plugins",
    "description": "Custom templates plugin",
    "version": "1.0.0",
    "author": "Rahul Bagal",
    "repository": "https://github.com/aj85430/monokle-template-demo.git",
    "monoklePlugin": {
        "id":"com.github.aj85430.plugin.templates",
        "helpUrl":"https://github.com/aj85430/monokle-templates-plugin",
        "modules": [
          {
            "type": "template",
            "path": "basic-pod-template"
          }
        ]
      }
  }
Here we have provided the URL as a repository of the repo which we have created on Github. The field type will be the template inside the modules section in monoklePlugin and the path would be basic-pod-template. We can change the path name but note that whatever path name we will give here we have to use the same for the configuration. Create the “basic-pod-template” folder.
Monokle template contains 3 things:
- a Monokle template configuration
- a Form configuration
- a Kubernetes YAML manifest with placeholders
Let’s create these 3 configurations.
Monokle template configuration
Create monokle-template.json file inside the basic-pod-template folder.
{
    "name": "Basic Kubernetes Pod",
    "id": "com.github.aj85430.plugin.templates.basic-pod-template",
    "author": "Rahul Bagal",
    "version": "1.0.0",
    "description": "Creates a Pod for a specified Image",
    "repository": "",
    "type": "vanilla",
    "forms": [
      {
        "name": "Pod Settings",
        "description": "Specify the settings for your Pod",
        "schema": "form-schema.json",
        "uiSchema": "form-ui-schema.json"
      }
    ],
    "manifests": [
      {
        "filePath": "template.yaml"
      }
    ],
    "resultMessage": "Pod resource created successfully!",
    "helpUrl": "https://github.com/aj85430/monokle-templates-plugin"
  }
monokle-template.json file is Monokle-specific configuration that defines what type of template we want and what we are creating. Basically, there are two types of templates in Monokle, vanilla, and helm-charts. We will use vanilla template for this tutorial. Here in this file, we can give the plugin name as I have given as Basic Kubernetes Pod. Same provide the author, version of the plugin, and description. The type would be vanilla. In forms section, there are two fields schema and uiSchema, these will be used by the Monokle to provide our users with the template with the input forms.
Form configuration
Create form-schema.json file inside the basic-pod-template folder.
{
    "type": "object",
    "required": [
      "name",
      "image"
    ],
    "properties": {
      "name": {
        "type": "string",
        "default": "kubernetes-pod"
      },
      "namespace": {
        "type": "string"
      },
      "image": {
        "type": "string"
      }
    }
  }
form-schema.json file defines the basic fields that we will request from the user to create a Pod. As you can see the name and image field will be the required ones. All the properties of the pod like name, namespace, and the image are of types string. We can add more properties like ports, commands for the pod. The default option is used by Monokle when the user won’t provide any input. As here I have given the default pod name as kubernetes-pod.
Now let’s create form-ui-schema.json file inside the basic-pod-template folder.
{
    "name": {
      "ui:title": "Name",
      "ui:help": "The name of the Pod"
    },
    "namespace": {
      "ui:title": "Namespace",
      "ui:help": "The target namespace for the Pod",
      "ui:widget": "namespaceSelection"
    },
    "image": {
      "ui:title": "Image",
      "ui:help": "The image name to use for the Pod, for example nginx-ingress:latest"
    }
  }
form-ui-schema.json file defines how the form is going to appear. Here we can give any relevant name as the title and their description which will visible on UI to the users. Monokle uses the react-json-schema-form frontend component to render the forms for these templates. We are using a custom widget called namespaceSelection. This widget provides the user with a dropdown of available namespaces.
Kubernetes manifest with placeholders
Create a template.yaml file inside the basic-pod-template folder.
apiVersion: v1
kind: Pod
metadata:
  name: [[forms[0].name]]
[[ forms[0].namespace ? "  namespace: " + forms[0].namespace + "\n" : ""]]
spec:
  containers:
    - image: [[forms[0].image]]
      name: [[forms[0].name]]
      resources: {}
When the user will give the inputs for the template, all the details will be filed with the template in the YAML file. That is why we have created this template.yaml file. This will contain a pod template where all our inputs will be shown. We are using forms as an array because we can define multiple successive forms in our monokle-template.json, instead of having one huge form. In our case, we have only one form so we will use forms[0] to access it.
Note that the name of this template file should be the same as whatever we have given in the manifests section as filePath in monokle-template.json file.
Now our template is created. Just pushed all the files to your GitHub repo which we have created earlier. Note that we can also update and delete the template.
Importing Template
Now let’s see how can we import the template plugin which we have just created.
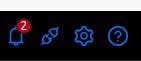
- Go to the top-right side of the Monokle UI and click on the second icon which is plugin manager.
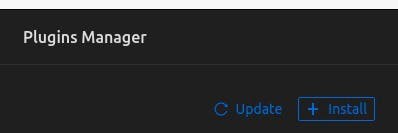
Click on the Install option.
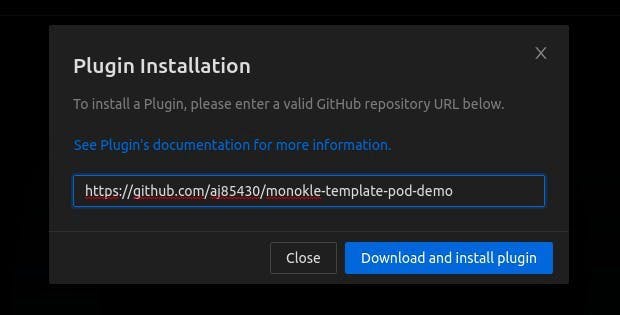
Add the repo URL of your GitHub repository and click on Download and install plugin option. in my case it was github.com/aj85430/monokle-template-pod-demo.
- Post the installation you can see your template plugin here.
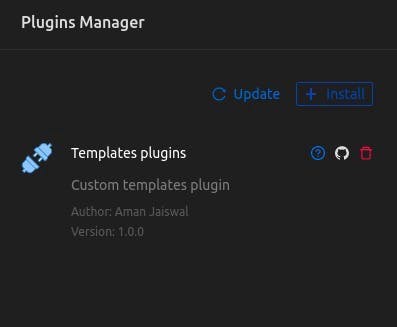
- The template plugin is imported and now we’re good to use this. Just try to use this template by following the “Using template” steps that we performed earlier in this tutorial. You can see your plugin when you’ll click on the “Select a template” option.
Conclusion
Also, we can make shows and layouts for work, administration, sending, and so on, and convey them to our groups.
Simply go through the Monokle documentation to learn and understand more. (kubeshop.github.io/monokle) Monokle is a decent device with an incredible adaptable UI. It makes our lives more straightforward and saves a great deal of time. Much obliged, Kubeshop for such an incredible tool.
Blissful Templating:)